Quick Guide - Confirming a Purchase Order
To Confirm a Purchase Order you will need to login to the Inzant Sales backend system, find the order & manually confirm the order.

- If your purchase orders are normally emailed to you, then you can confirm a purchase order at any time by simply opening the email and clicking "Reply" and sending the email (Inzant will pickup the subject and confirm the order based on your reply). If you lose or accidently delete the email then you can use the attached guide to manually confirm the orders using the Inzant Sales Web Client.
- If your purchase orders are imported into an accounts package then it can happen from time to time that an order is manually keyed into the accounts system prior to it being ready to export from Inzant, opening up the potential for the order to be inserted and duplicated. Using the attached guide you will learn how to quickly & easily confirm orders, preventing them from exporting to your accounts package & causing duplicates.
Finding the Order to Confirm
- Login to your Inzant Sales admin system
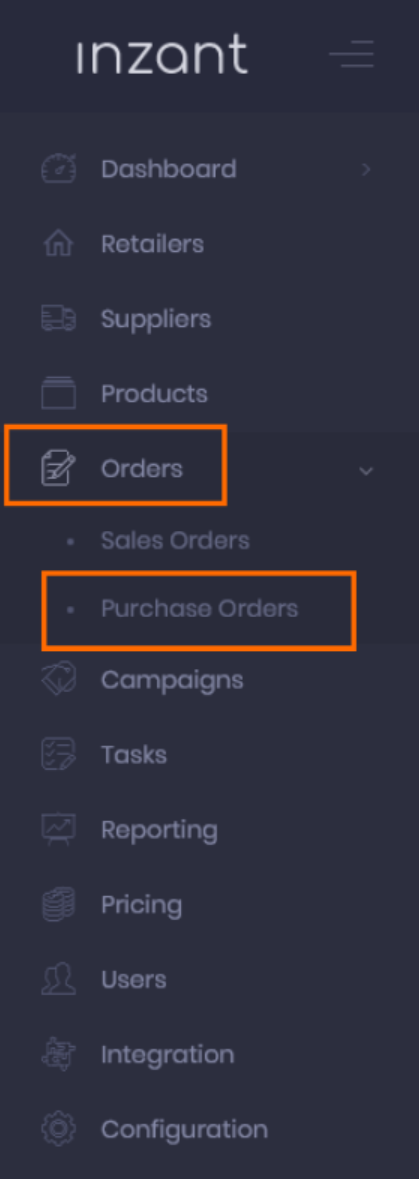
- Click on the "Orders" sidebar menu option, and click on "Purchase Orders"
- Search for the Purchase Order using the search bar (you can search using the retailer name or the purchase order number).
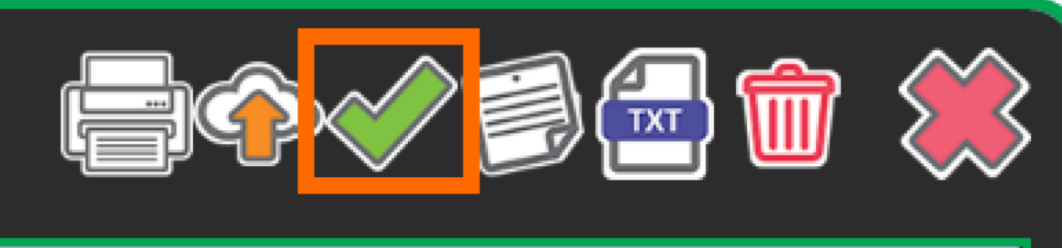
- Double click on the order line to open the Purchase Order Details screen. Once open you should see the "Confirm" button (green tick icon) as an option in the top right of screen. Click this now to Confirm the purchase order.
Once the order is confirmed it will no longer get included in the daily notification emails as being requiring attention.
Related Articles
Quick Guide - Resubmitting a Purchase Order
When a Purchase Order in Inzant Sales goes into the "OnHold" state it will require manual intervention to progress. This means you will need to login to the Inzant Sales Web Client, find the order and manually submit it again. If your Purchase ...Management Portal - Orders
The Management Portal play list includes the following topics; 1.Order Screen views 2.Using Advanced Searches 3.Order types Explained 4.Veiwing and editing an order 5. Taking an order 6. Managing web carts ...Quick Guide - Deleting a Product Category
This is a quick guide explaining Deleting a Product & Product Categories using the Inzant Sales Management Portal. Firstly you'll need to be logged into the Inzant Sales Management Portal. Once logged in proceed to open the product search screen ...Adding & Editing Retailers using the Management Portal
This guide provides information on Adding & Editing Retailers in the Inzant Sales Management Portal. Adding a Retailer Retailers Can be added to two ways. From the Actions Menu in the Top Menu Bar or Using the New Retailer button on the Retailer ...Adding or Editing Retailer Contacts in the Management Portal
This guide provides information on adding and editing Contacts for Retailers in the Inzant Sales management Portal. If you are looking for information on assigning a contact Website access, please see the dedicated guide below Setting a Retailer to ...
Popular Articles
Home Screen and Navigating the System
The Home Screen The home screen is the start up screen for the App. It contains links to all the other major screens and provides some KPI information and access to your schedule. In this article we will discuss all the links so you can navigate ...Editing a Retailer
This article describes the process of editing a retailer. More detailed information on retailer information can be found at the following article (Retailer Detail Screen) To Edit a Retailer touch 'Retailers' on the left of the Home Screen. Touch the ...Order History Search Screen
The Order History Screen allows you to review history and report on ordering processes. This article describes how to use the Order History screen. Online Help The help link will provide you with online access to our knowledge base with the articles ...Quick Guide Reporting - Customer Website Access Status
To get a list of your existing Retailers & Contacts with the state of their website access you can run a simple report from the Management Portal Reporting Module Click on Reporting in the Side Bar Menu to see the available reports. Click the Website ...Master and Variation Products
Inzant Sales supports Master and Variation products. these products appear in the App slightly different to normal products. This article describes how Master and variation products are displayed in the App. When viewing product lists, on the Product ...
Recent Articles
End to End Video Guide on Using Smart Catalogues
We've put together a pretty comprehensive video on using Smart Catalogues here, which covers the salesperson user experience (and how to edit that if you wish), how to create the PDF, and then how to create the smart catalogue in Inzant Sales. If you ...Management Portal - Adding a Pricing Rule Walk Through Video
Watch the linked video as we walk through creating a new pricing rule, set conditions for discounts, select products, choose applicable price lists, and schedule the rule for auto-publishing. Check out the detailed steps and explanations below to ...Performing a Hard Reset on an iPad
Adding a Favourites List to a Retailer
In this video, I will show you how to add a favourites list to a retailer. I will guide you through the steps, including selecting the retailer, navigating to the favourites section, and adding a list. I will also explain how to choose the contact ...Accessing and Managing Favourites Lists
In this video, I will show you how to access and manage your favourites lists on our platform. I will guide you through the steps to access your favourites list, apply filters, and view specific categories. Additionally, I will demonstrate how to add ...